Painting your room
Advice from the experts
When it comes to painting a room, there is a clear divide of those of us who prefer to leave the job to a professional, and those of us who find it a rewarding and therapeutic task to be done personally.
Either way, you can expect stunning results using V&CO paint, providing you follow a few simple guidelines in the process. Here are some tips from our paint experts to ensure you paint your room to the precision of a pro:
1. Clear the area
Clearing out the space that you are decorating is a fundamental must. Of course, there might be heavy items such as beds and sofas which can’t be moved out of the room entirely, however, every step should be taken to ensure that as much as possible is removed to clear the area. Start by taking out any smaller pieces of furniture that are easy to move. Get some help so that you can carry out bedside tables, cabinets, and armchairs.
Take down any artwork or pictures you have on your wall and store them in a safe place elsewhere. If you have a pendant light on the ceiling or wall lamps, you can either remove the fixtures entirely or cover them with protectors and tape to keep them secured while you paint.
2. Wall prep is key
The quality of your finish is determined by more than just how you apply the paint. Wall preparation will have a big impact on the quality of your final look. The more care you put into preparation, the better your finish will be.
First, inspect your wall for damage that needs repairing. This includes small holes, chipped plaster, hairline cracks or scratched wood. Basically, look for any issues that will cause problems for your paint. Use a high-quality filler to smooth over any of these imperfections to ensure you start with an even surface.
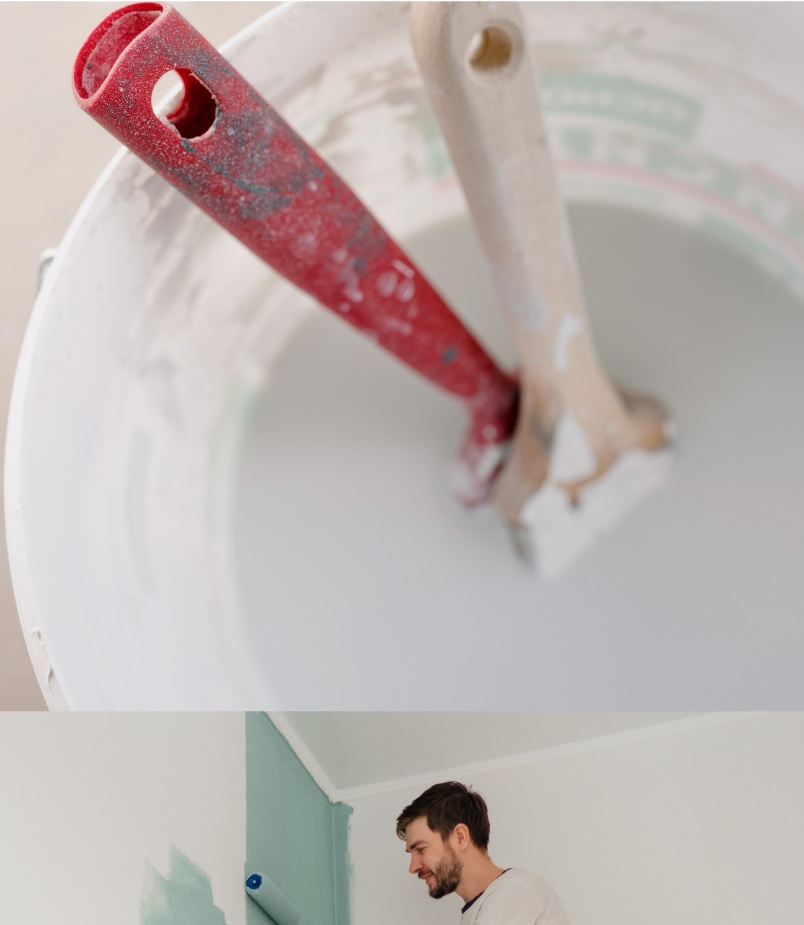
Next, take the time to sand down the surface, targeting any lumps and bumps to smooth it out. Look for areas and patches where the paint is rough or un-even. Peeling or flaking paint can be sanded back until the edges are smooth. If you’ve used filler, this is the time to sand it down, so it sits flush with the rest of the wall.
Sugar soap works like magic when cleaning the walls after they have been sanded and smoothed. This solution can cut through grease, dirt, sticky patches, and even if you can’t see any obvious bits of dirt, you’ll be surprised how it can accumulate over time, so this stage of prep is always essential. Simply spray the sugar soap solution on the surface of the wall or ceiling and give it a gentle scrub. Then, use some clean water to wash it off. If you don’t wash it off, you’ll be left with a film of sugar soap that stops the paint from sticking properly, leaving you with a poor finish.
Finally, it’s time to prime the walls. A tinted primer is perfect for covering bright colours as well as before applying a bold colour. It will mean you need fewer coats of paint to finish your wall. Apply the primer to the wall and leave it to dry for two hours before applying a second coat. Then leave this to dry for a further two hours before you begin painting!
3. Paint in the right order
When you are re-decorating a full room, there is a certain method of painting to ensure the best job is done.
You should always start by painting the ceiling as this is by far the hardest surface to paint, and this will also avoid any splatters falling down onto freshly painted walls too. That said, be sure to put down sheets to cover the ground to avoid stains on carpets or wooden floors.
Your walls come next. Use decorator’s tape and place it as close to the edge of the ceiling as you can to get a crisp finish. Paint around the edges of your wall first (otherwise known as ‘cutting in’) with a broad paintbrush and then fill in the rest with a roller. All you need to do is apply the paint in a W pattern, apply light strokes and making sure you overlap patches a little bit. Be careful not to paint too quickly or you’ll create a mist of paint spray all around you. When you’ve finished painting the wall, peel off the tape while the paint is still wet for a clean line.
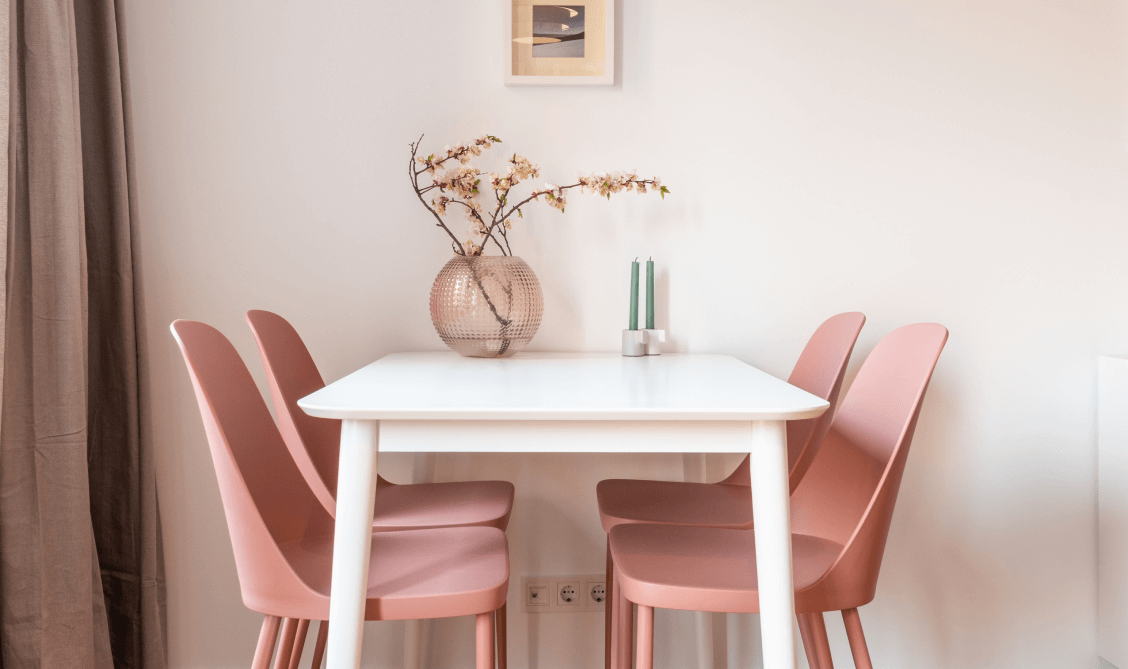
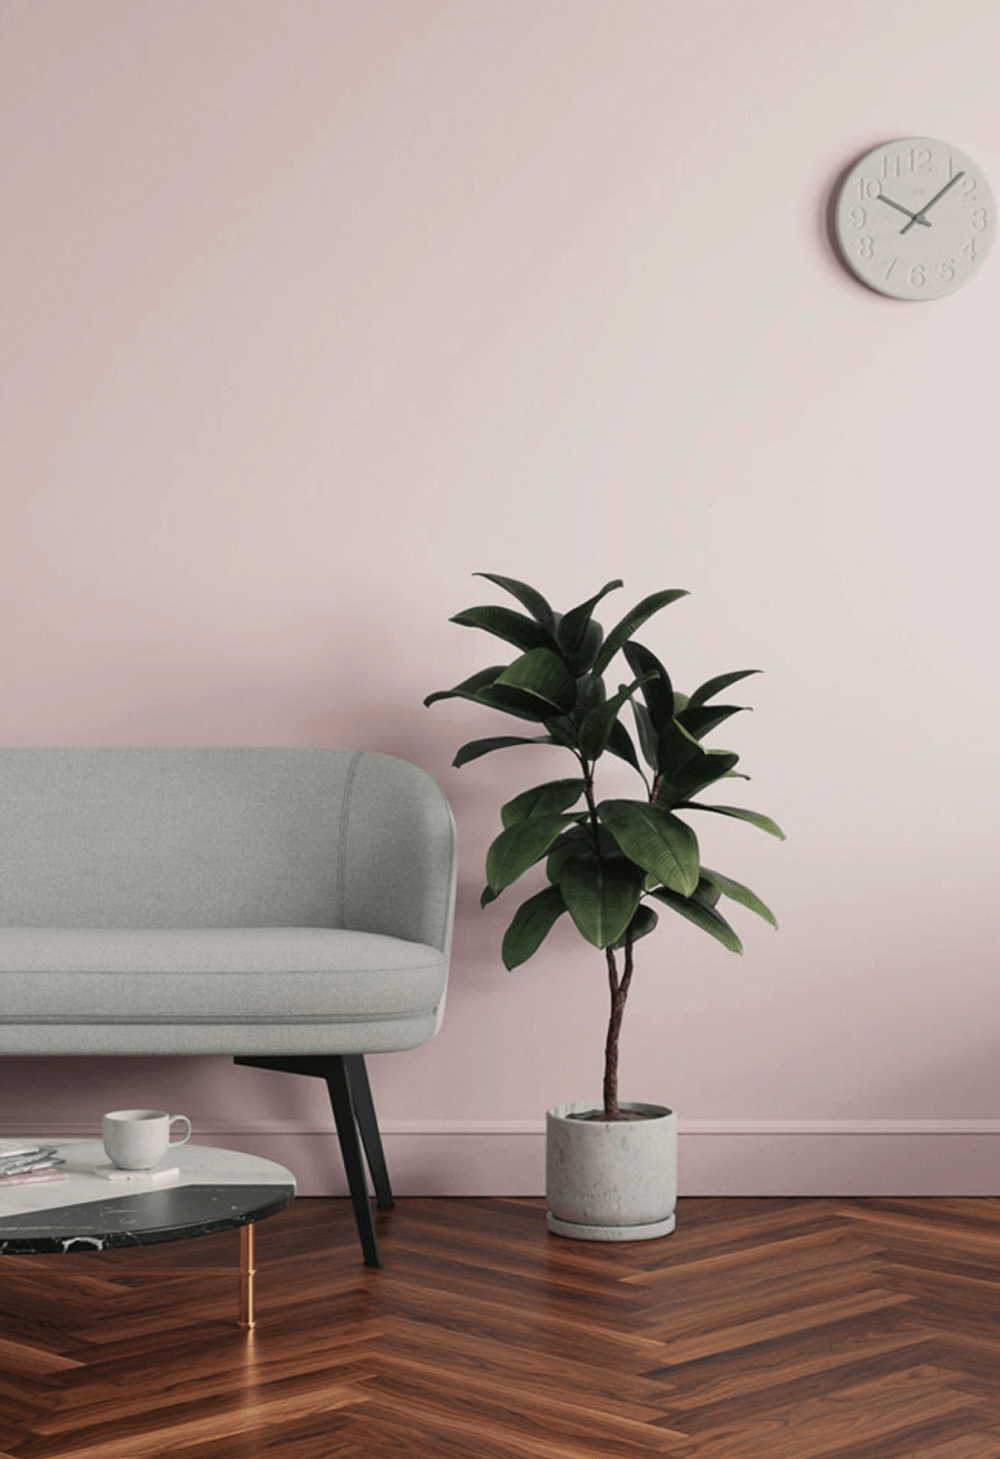
Skirting boards should be the last thing to paint, but if you’ve just painted your wall, then tackle this job a few days later to let the wall paint settle. Remember: skirting boards don’t need to be white. Choose a modern twist by matching the colour of your skirting to the colour of your walls and ceiling.


